Quarantines and Kitchens
by C. Rosenberg
With most of us quarantined at home, chances are that we’re spending more time than ever prepping, cooking, and eating snacks and meals. That much time spent in a kitchen deserves some serious thought about how to kick things up a bit – with your own personal touch.
Here are 5 DIY ideas you can implement in your kitchen, and most of the supplies can be ordered online.
Light it Up
Bring more light into your workspace. Adding lumens to your kitchen does wonderful things. While you may not be up to
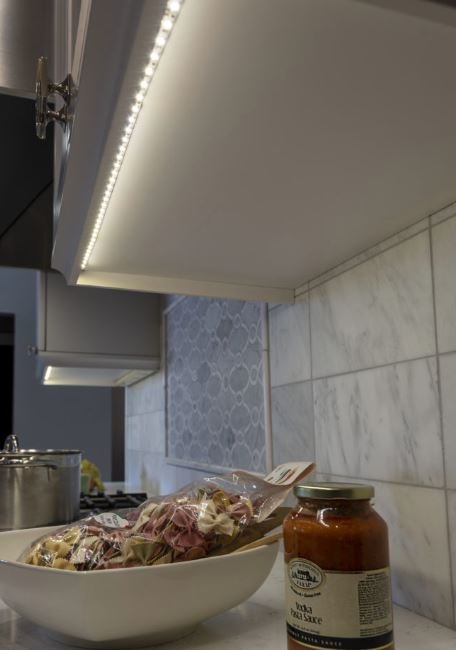
cutting holes in your ceiling to accommodate more light fixtures, you can pinpoint dark spots in your kitchen. Try an adhesive strip of small, LED lights beneath your cabinets to bring extra light to your countertop workspace.
More light above sinks are generally welcome as well. You can paste small, stand-alone LED lights on the ceiling above the sink for great results. You can also take your open shelving and display cabinets up a notch with soft lighting that puts your display pieces in the limelight.
Home Depot, Lowe’s, Bed Bath and Beyond, and similar brick and mortar and online stores have a great selection of moderately priced lighting wonders.
Sleek and Sophisticated
Are your old appliances functioning just fine, but you’re praying for their demise just because they’re a royal eyesore? I bet you didn’t know that you can paint them with stainless steel finish.
You can use spray on paint for small appliances that don’t generate heat, but for larger appliances you’ll need to be more careful about which product you use.
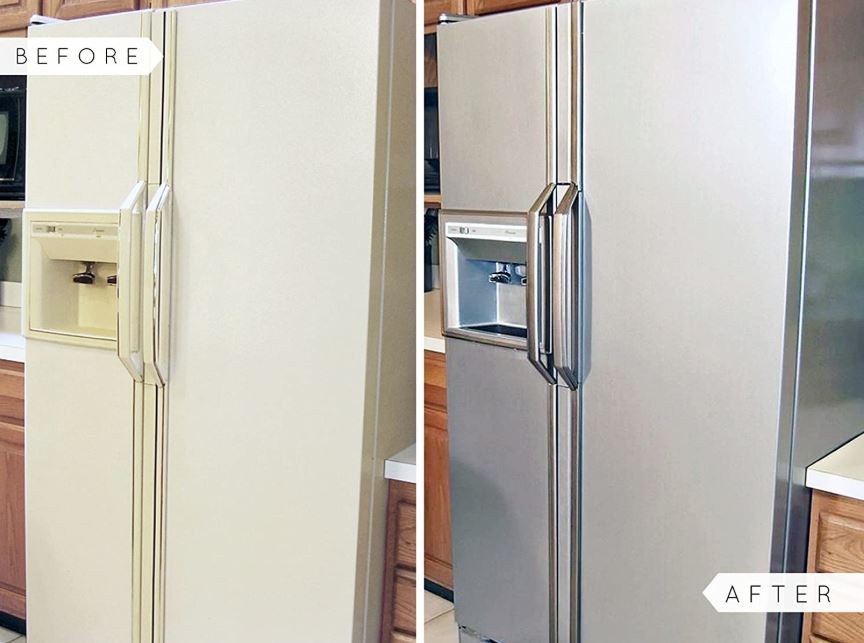 Three coats of liquid stainless steel paint should work well for most appliances, though you’ll have to prime plastic appliances first.
Before beginning your project, it’s important that you read the product information to make sure that it has indeed been produced for the appliance of your choice.
You should also be aware that there are different finishes within the ‘color’ stainless steel. Whether you choose a high sheen or brushed satin, make sure that you get a uniform look for all of your appliances. Keeping your appliances at a distance of at least 5 feet also helps avoid clashes in color.
Splash it Up
At eye-level, your backsplash not only attracts attention, but also plays a role in setting the tone for your kitchen. While there are some brave homeowners who painstakingly paste ceramic tiles for a wower backsplash, you can achieve similar effects without the risk of wrecking your kitchen.
The trick? Laminate flooring.
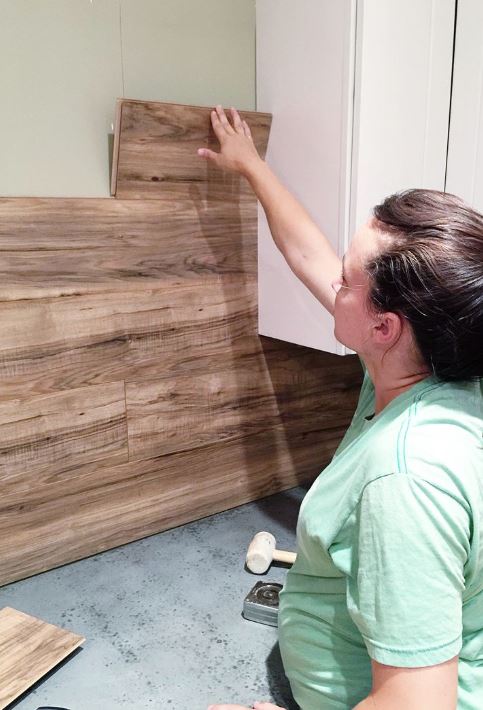 Laminate flooring is inexpensive, durable, water resistant, and gives you the look of either hardwood, tile, or stone. Just make sure to caulk it well at the bottom so that it doesn’t begin to peel away from the wall. Similarly, you can apply self-stick vinyl tiles for easier application.
Class in a Glass
There’s nothing quite wrong with plastic dishwashing soap bottles, but there’s nothing quite right about them either. A glass bottle, with
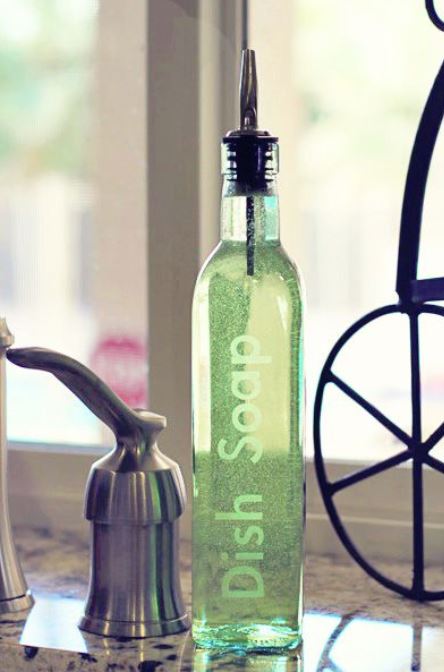
some frosted etchings, is a functional kitchen item you’ll be proud to have on display.
Here’s how to do it: Choose a glass bottle with a narrow neck that widens at the bottom. You might even be able to re-purpose a bottle you have at home (such as an olive oil bottle). Rub the surface with sandpaper to get an even surface. Then, either download or prepare a
stencil of your own with the design of your choice.
Secure the stencil to the bottle and brush the open spaces with glass etching cream. Once dry, remove the stencil, and ta-da! You’ll be looking at a classy dishwashing soap dispenser.
Fabric Cheer
Most of us like an open, airy kitchen – but that doesn’t mean we want our windows bare. What it does mean is that you have a lot more leeway when it comes to choosing fabric and design, than you do in other rooms of your home.
To keep things super-simple and eliminate the need to sew, get some decorative hooks and eyelets (see more about that later) and hang them right above your window. Make sure to space them evenly. Next, measure your window frame from right to left, and from top to
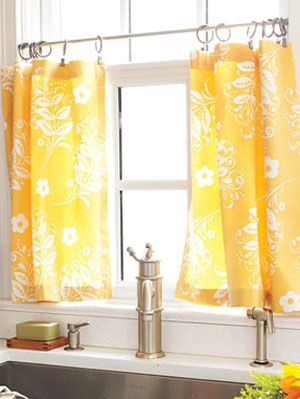
bottom. Add 1 inch to the length of your measured dimensions, and 2 inches to the length.
Then, choose a fun fabric that fits in with the rest of your kitchen décor – or, allow it to set the tone. Cut it in half, fold over ½ inch of fabric on all ends, and use fabric fusion tape to secure the raw edges. Next, mark small dots with a pen along the area you’ll want to hook into your designer hooks. Using your eyelets for direction as to the size of the hole, use a sharp scissors to cut small, neat holes. Snap the eyelets in place and you’re all done! Your curtains are ready to dance in the breeze!
~~~~~~~~~~~~~~~~~~~~~~~~~~~~~~~~~~~~~~~~~~~~~~~~~~~~~~~~~~~~~~~~~~~~~~~~~~~~~~~~~~~
-
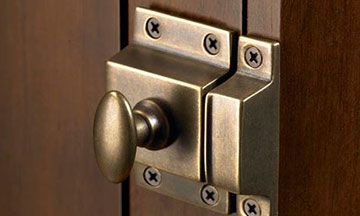
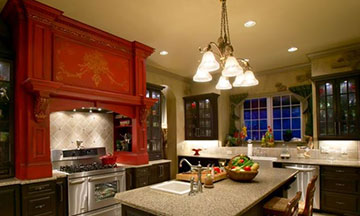
Hardware & Accessories
Review some of the creative traditional kitchens.
-
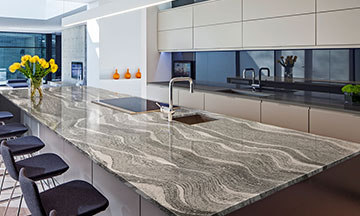
Countertops
Review some of the creative traditional kitchens.
-
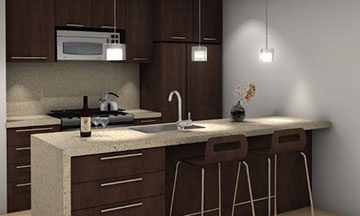
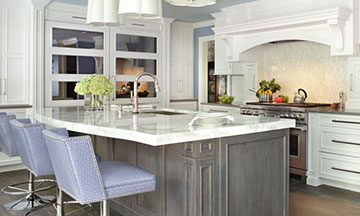
Modern
Review some of the creative traditional kitchens.
-
Traditional
Review some of the creative traditional kitchens.
-
Contemporary
Review some of the creative traditional kitchens.
-

Multi-Residential
Review some of the creative traditional kitchens.